Help
|
Contact Us
|
Policies
|
About Us
Call Toll Free: 1-800-673-1308
Free Shipping Offer
|
My Cart
|
My Account
Home
Vitamins & Supplements
Environmental Equipment
Personal Care
Domestic
Clothing
Gluten-free
Pet Care
Books
Search
Shop by Brand »
Shop by Health Topic
or Category »
Quick Order »
Newsletters
Current Newsletters »
Past Articles by
Categories »
Health & Wellness Library »
New Products »
E-Newsletter
Sign up and get exclusive
news and promotions »
Connect with NEEDS
Listen and Learn
Teleseminar Webcast »
"How to Corona-Proof Your Life Follow Up" with Dr. Sherry Rogers.
Archived Teleseminar Webcasts »
Home
/
Shop by Health Topic or Category
/
Mold Plate Test Kits
/ examinair Professional Allergen & Mold Test Kit
Enlarge Image
Email to a Friend
My Healthy Home
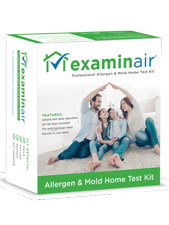
examinair Professional Allergen & Mold Test Kit
ITEM NUMBER:
MHH-5000-001
Your Price:
This product carries a drop ship charge of $10.00.
Qty:
Order Status
|
Help
|
Contact Us
|
Policies
|
About Us
|
Tracking
|
Site Map


 Enlarge Image